Owning a campervan comes with a lot of liability. The vehicle itself is costly, it carries valuable gear both inside and out, and it typically spends most of its time parked in public places, making it an attractive target. With proper surveillance, you could notice suspicious activity, attempted break-ins, or damage when it’s still not too late. Reliable monitoring helps protect your investment, and gives you peace of mind knowing you can always keep an eye on your van, wherever you are. For me, a good surveillance system greatly reduces the anxiety I feel when I have to leave my vehicle somewhere. It’s also extremely useful when I’m inside the van and hear an unexpected noise, giving me a quick way to check what’s happening outside.
When looking specifically for security cameras for vehicles, or campervans on the market, there wasn’t a good solution that ticked all the boxes for me. What I was looking for:
- Small
- Outdoor rated
- Water resistant
- Easy to use phone app
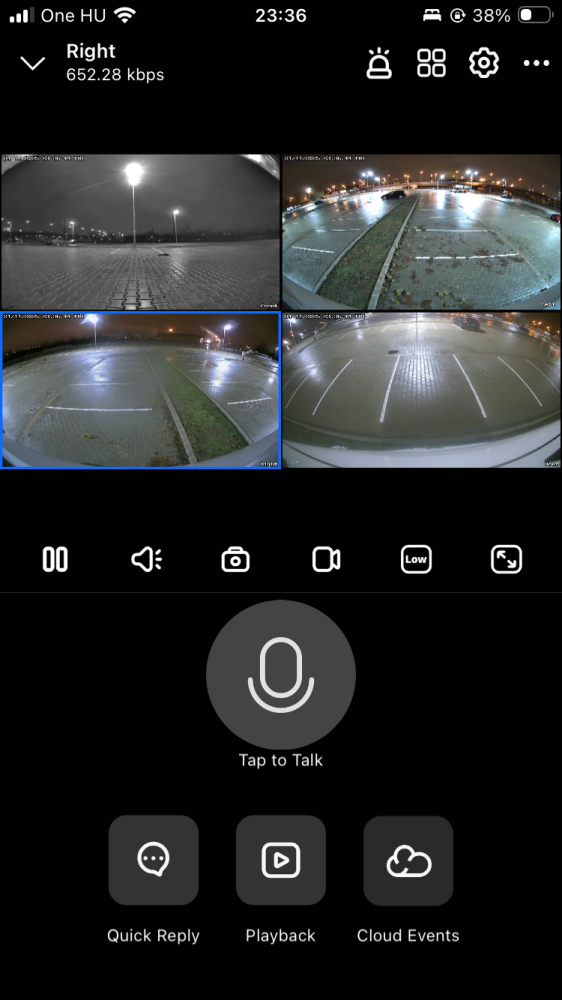
- Have night vision
- Wide field of view
- Decent image quality
- Powered from DC
- Low power
- Detect movement
- Record

They also come with the added feature of being able to talk with the thieves in action.
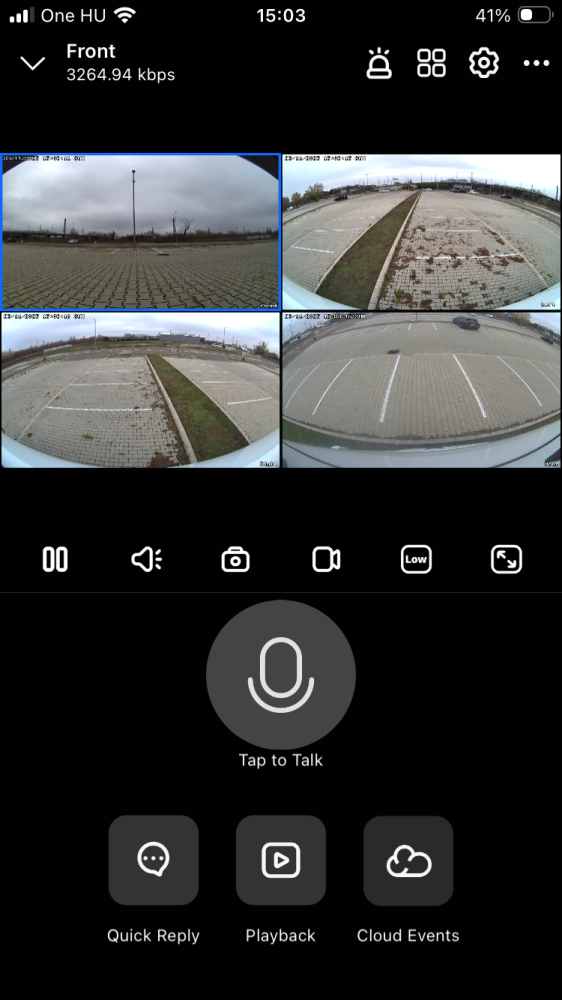
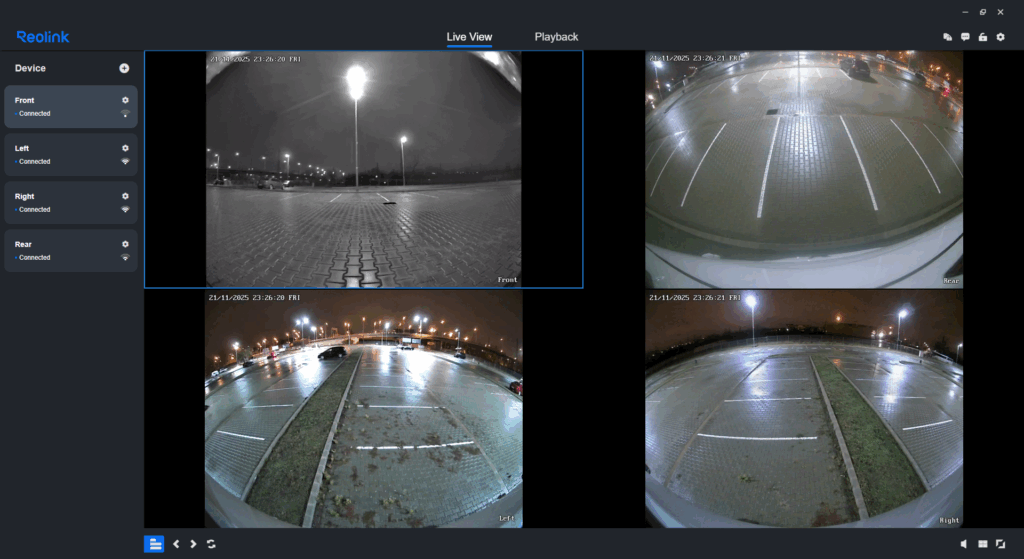
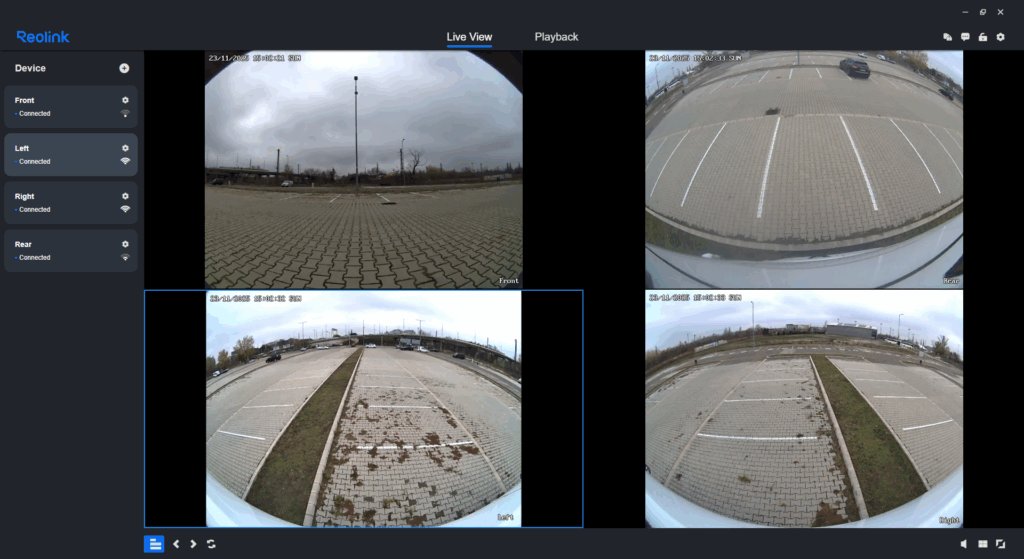
But seriously, we have these cameras installed for more than 6 months now, and the are truly a game-changer. They worked flawlessly. Both of us can check on the van from our phones, anytime, anywhere. The application is intuitive, and stable. It does not require cloud connection like some other brands, so if the van temporarily does not have internet, the cameras still work on the local network.
Even when you’re not actively monitoring, this camera records to its own SD card (you don’t need a DVR!), allowing you to review everything that happened around your van later. It features built-in motion detection, recording only when movement is detected, including a short period just before the motion occurs. It can even send notifications directly to your phone when it detects motion or recognizes people.


A Windows app is also available, letting us check on the vehicle easily from a PC.


Installation
Reolink has 3 versions of this camera. You can order the parts on Amazon using these affiliate links:
NOTE: Please take extra care when ordering, the listings are very similar for the different models, and don’t always list the model number.
To configure and use these cameras, a wired or wireless network is needed that is already working in the vehicle. If this network has internet access, the cameras can be accessed from anywhere.
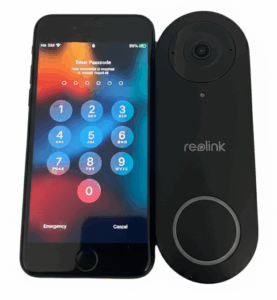
I installed the D340W, which only needs power and either a wired or wireless connection to your van’s router. If you’d rather avoid WiFi, the D340P could be a better choice — it operates exclusively over Ethernet and draws power through the same cable. Keep in mind, though, that it requires a PoE-capable router and the ability to run and crimp Ethernet cables. For a fully wireless setup, the D340B is an option, running on built-in batteries that can last roughly 5–6 months per charge. The tradeoff is its size, as this model is noticeably taller than the other versions:
-
Reolink D340W: 133 mm (H) × 48 mm (W) × 23 mm (D)
-
Reolink D340B: 160 mm (H) × 48 mm (W) × 29.5 mm (D)
NOTE: Unfortunately the installation orientation is limited to vertical positions, since the app only allows image mirroring, and can not rotate the image by 90°.
The cameras are rated IP65, meaning they’re protected against dust and can withstand water jets from any direction — so rain and splashes aren’t an issue, though they shouldn’t be submerged. Because they’re designed for wall mounting and have SD-card slots and connectors on the back, using a proper backing plate is important to ensure a secure and weather-resistant installation. For added protection, apply a sealant (such as butyl tape) between the camera and the backing plate, and drill small drain holes at the bottom of the plate to prevent water from collecting.
Connecting power is done with the included cables, a 1A fuse is recommended. The camera operates on both 12V and 24V systems, with a power consumption of approximately 3–4W.
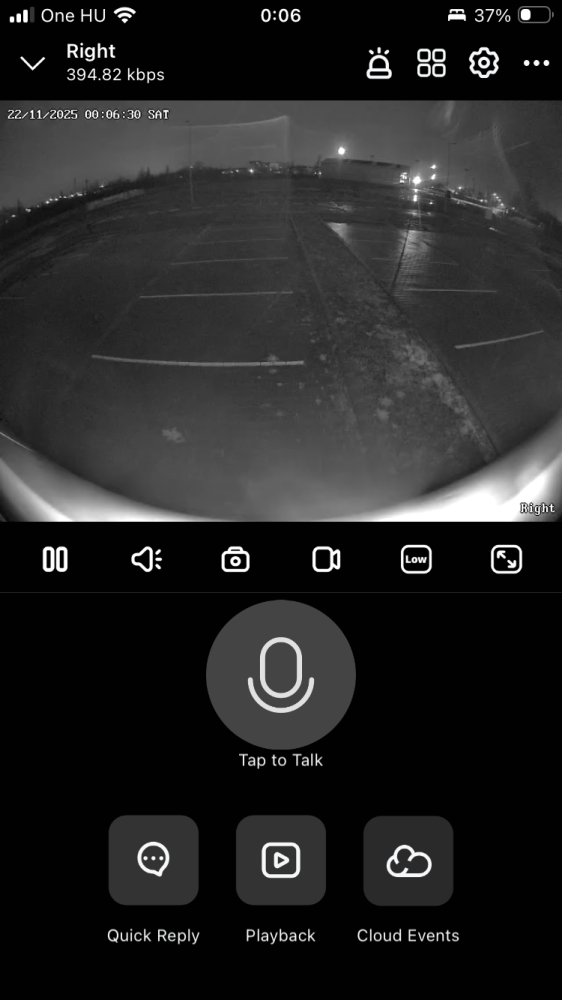
TIP: When positioning the camera, ensure that no objects protrude into the field of view. Components such as the corner of the van or mounting hardware will be overexposed in night mode, resulting in them brightly illuminating the image and preventing more distant details from being visible.
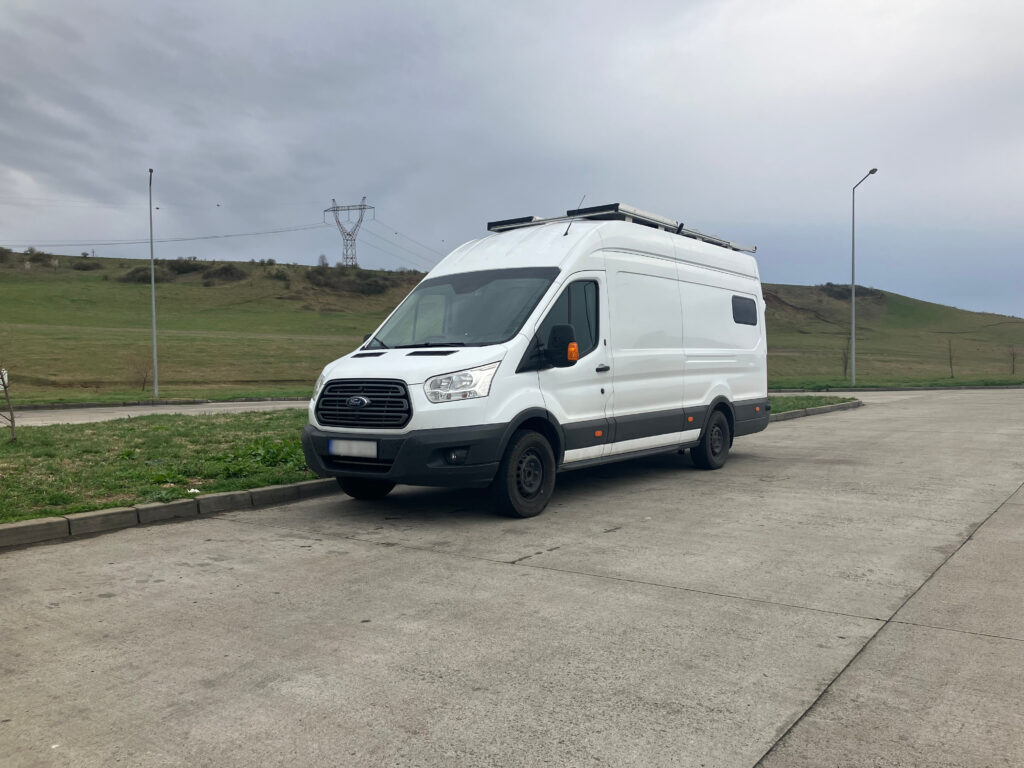
Before you mount the cameras, get them working through the app, since the configuration process will require to scan the QR code on the back of the camera. Mount the backing plate at your chosen location, then attach the camera securely onto it. The result is a sleek discreet mounted device on the side of the vehicle.

TIP: The button on the camera will light up, which is not preferred for vehicle use-case. The button lighting can be turned off in the application, however it will still blink in case the device has no WiFi connection. It is advised to cover the button with a durable weather resistant tape, to block the light.